Are you here because of an email issue that says, “Oops, system encountered a problem (#2014)” or encountered “Email 2013 Error”?
If yes, then you are on the right path. We’re going to walk you through an easy-to-use path that will help you continue working, in case you get stuck with “oops, the system encountered a problem (#2014)”
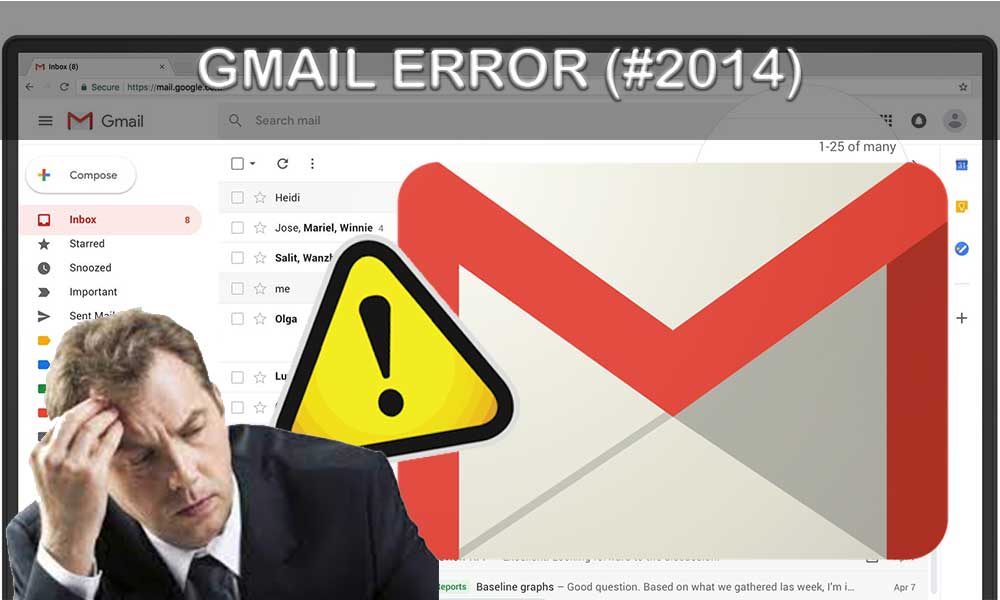
Let’s take a look at the main issues you might be experiencing, which will indicate that you have a Gmail error, “oops, the system encountered a problem (#2014)”
Issues You May Face During Gmail Errors (#2014)
- You may end up losing data from your device, unknowingly.
- Non-optimal settings may be experienced while working
- Possibilities of PC clutter or reduced speed while using the device
- Unnecessary appearance of unnecessary or duplicate data
- Services and unnecessary items that appear
- Invalid entries appearing on the screen
Now, to get out of the above-mentioned problems that you will face under Gmail Error 2014, let’s follow the below-listed methods or solutions.
| Note: All methods can also be used if you get error #2013: “Oops, the system encountered a problem.” |
Solutions to resolve: “Oops, the system encountered a problem (#2014)”
Outdated versions of web browsers can be to blame, causing Gmail errors #2014 or 2013. To resolve these issues, caused by a long-lost web browser, simply follow the steps below to get updates. new.
Step 1: Open your web browser via Google Chrome and click on the three vertical dots at the top right.
Step 2: Choose the Help option and click on ‘About Google Chrome

Step 3 – In the About Google Chrome section, look for Google Chrome updates and it will be downloaded automatically.

Step 1 – Go to the Windows menu and click on the Settings tab

Step 2 – Type updates in the Check tab and click Check for updates

Step 3: Now from this Windows Update section, click on the Check for Updates tab as shown below.

Step 4: You will see the following screen, regarding the status, “checking for updates”. And then, you will be directed to the required downloads and installations.

Step 1: Open Mozilla Firefox, click on the three lines at the top right and click on the Help tab.

Step 2: On the Help tab, click About Firefox.

Step 3: When you see the following screen, check for updates and download and install the required updates, if necessary.

Step 1 – Go to the Opera web browser and click on the Settings tab at the bottom left of the following screen.

Step 2: Now under Settings, click on Opera Help

Step 3: In Opera Help, click on “Update your browser”. Download and install the latest updates, if you find them.

If you are experiencing Gmail error #2014 due to internet connection, please follow the tips below:
- Check your Wi-Fi by turning it off and on
- Check your Recharge plans and recharge the data
- Connect your devices with the LAN cable, if possible
Third-party plugins or services can cause “Oops… system encountered a problem (#2014)”. To disable third-party services on your device, you can use Windows Defender or Windows Security Status by following the steps below:
Step 1: Go to Settings, under the Windows Menu tab

Step 2: Now under Windows Security, click on Open Windows Security.

Step 3 – From Security at a Glance, check for issues and updates. This section will automatically direct you through the necessary checks and downloads, safely.

This might be the way out for you as this method can also resolve some glitches on your device.
Step 1: Open the Google browser, click on History and click on the History tab again, as shown below.

Step 2: Go to History, select the web pages you want to clear or remove and click Clear browsing data on the left side of the screen.

Step 3: On the next page, after clicking Clear browsing data, choose the options to clear history, cookies, and other cache data below and click Clear data.

Step 1: Open Microsoft Edge, click on the three dots at the top right, as shown below.

Step 2: Click on the History tab, either by directly tapping on the History tab or by clicking CTRL + H, from the keyboard.

Step 3 – Under the History tab, click Clear browsing data.

Step 4 – Under Clear browsing data, choose the period for which you want to clear your data, select clear cookies, history and other data, and click clear now.

Step 1: Open your Firefox browser and click on the History tab.

Step 2 – Under the History tab, click Clear Recent History

Step 3: After clicking on Clear recent history, select a time interval for which you want to clear data, such as cookies, caches, and more. And then click on the OK tab.
| Note: Don’t forget to click on the Cookies and Cache section. |

Step 1: Open Opera web browser and click on the click icon i.e. History on the left side of the screen.

Step 2: Under History, click on the Clear Browsing Data tab, as shown below.

Step 3: Under Clear browsing data, scroll down to the basic section and select Browsing history, cookies and other site data, and cached images and images section, and then click Clear data.

Step 1 – Click on the puzzle icon (for extensions), from the top right corner of your Google web browser screen.

Step 2: Under the extensions, click on the three dots of the saved extensions that you plan to remove. And then, click on the extension icon. Now, click on Remove from Chrome tab.

Step 1 – Open Microsoft web browser, click on the puzzle icon, at the top right of the screen.

Step 2 – You will be able to see all the previously saved extensions under the extensions bar, click on the three dots that you want to remove from the browser. And then, click Remove from Microsoft Edge.

Step 1 – Open the Firefox browser and click on the pre-saved extensions on the top right corner of the Firefox web screen as shown below.

Step 2: After clicking on the saved extension icon, click on the Remove Extensions tab.

Step 3: Now when the following screen appears, click on the Delete tab.

Step 1: Open Opera web browser and click on the box icon for extensions, from the top right corner of the screen. And then, click on the Manage Extensions tab, as shown below.

Step 2 – Choose the extension you want to remove and when you open the saved extensions, click on the disable tab.

If the above methods did not work. You need to switch your latest Gmail services to the HTML version. But, before you switch Gmail to the HTML version, please note:
- You won’t be able to access certain Gmail features
- You won’t be able to apply certain keyboard shortcuts
- You won’t be able to use quick actions
- You may not use additional plugins, spell checkers or extensions.
Choose to switch your Gmail to the HTML version of Gmail wisely.
Also Read: How to Fix Gmail Server Error 007?
This is how you can fix Gmail “Address not found” error
Categories: Technology
Source: SCHOOL TRANG DAI