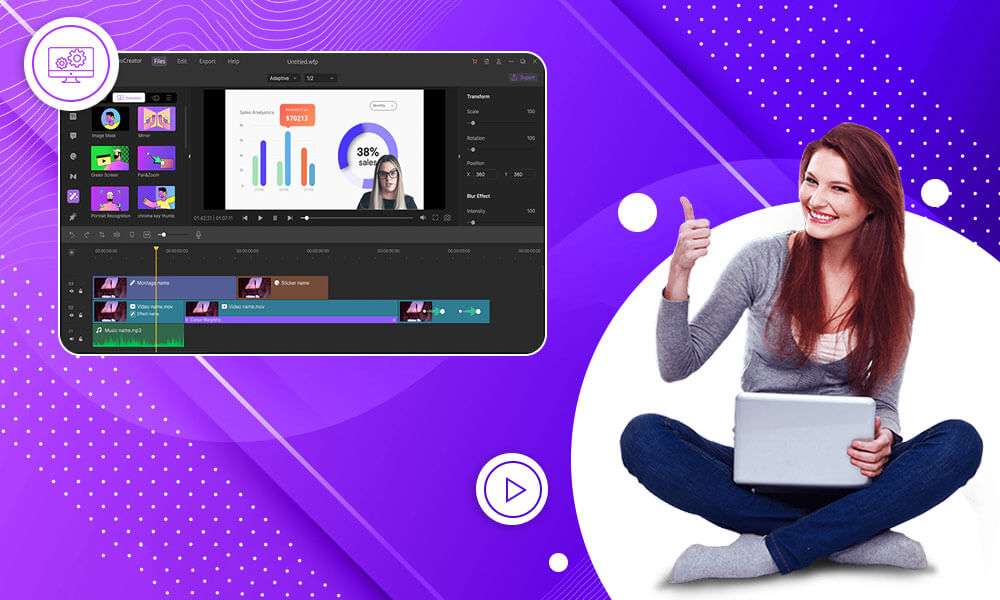
The right video editing software can take your editing skills to the next level. Even a professional video editor needs editing software. That’s why we’ve brought you this amazing all-in-one video toolkit to help you create videos that even you wouldn’t have imagined. Joyoshare VidiKit is an all-in-one video toolkit with screen recorder, audio capture, video converter, watermark remover, video compressor, and much more.
What makes a tool worth your investment is its ease of use and accessibility, and Joyoshare VidiKit comes with all of that. So if you are looking for a video toolkit with complete solutions to handle your media files, this might be the one for you.
Joyoshare VidiKit: functions and features
With just a little tweaking, you can enhance your video and make it look like a professional one. This is what Joyoshare VidiKit does; Let’s take a look at some of its features:
Record high-quality videos
Who doesn’t want to create a video of “exactly” what they saw? Nobody. This is what you get with Joyoshare. With this premium multimedia program, you can adjust the capture area according to the actual situation, and this helps you to give your video a real and magical look. It covers recordings for games, meetings, how-to tutorials, streaming movies, and the like. The resolution it offers can be up to 4K/1080p and also the drop-free frame rate can be 60fps.
Joyoshare VidiKit has an excellent audio capture toolbox, allowing your video to capture sounds detected by the computer. There is much more in this video kit such as automatic deletion of muted files, editing of audio recordings and applying sound effects.
Adding or removing watermarks from various places on videos and images can be essential. But not all tools help you with that, so Joyoshare VidiKit comes with features to add or remove watermarks with one click.
It can be frustrating to merge multiple videos and compromise on quality. But with Joyoshare, you can merge as many videos as you want without compromising the quality of the original video.
Provide as many cutting shapes as possible to meet the diverse needs of your customers. With Joyoshare, you can trim specific videos freely.
Now that we are talking about recording screen on Windows with Joyoshare VidiKit, let’s also learn how to record screen on Windows.
How to record screen on Windows with Joyoshare VidiKit?
Microsoft has made some extraordinary changes to give its users an amazing experience. And one of these changes includes the introduction of the screen recording feature in Windows. Well, not just this, it is the accessibility of this feature that has also surprised users. It may sound a bit technical, but screen recording in Windows is absolutely simple.
To get started with screen recording in Windows, there is more than one method. You can do it with the built-in Windows tool, Windows 10 PowerPoint and Joyoshare VidiKit.
To record screen on Windows with Joyoshare VidiKit, here is what you need to do:
Visit the official website of Joyoshare VidiKit and download its version for Windows. Double-click the program, select Record and then Screen Recorder to activate the program.
Note: If you are bothered by the unknown interruptions you may face while recording screen on Windows, you should know that Joyoshare VidiKit is built with close microphone voice or system sound. Even after something interrupts it, it will not affect the recorded video.

The tool also allows users to choose the capture area at will. To get started, all you need to do is click on the “Record Video and Audio” mode and then click on the “+” button. Then a popup window will appear; you can drag the border of the window to adjust it according to your recording region.
Step 3 – Customize your recording preferences
Joyoshare VidiKit also supports output format selection. And not only that, but also task creation featuring start and end times, click highlights, and much more. The tools come with-

- Three basic registration options
- Time recording option
- and cursor option
To get started with the screen recorder on Windows 10/11 or later, click the “REC” option. To end the capture, click the “Stop” option. Here, you will also have the option to take screenshots, trim the video, and skip the content.

Joyoshare VidiKit allows you to preview your video and rename your video in “History” option.
Note: If you started trimming your recorded video in the above screen recording process, you will be able to see the different segments here.
This was how to record screen in Windows using Joyoshare VidiKit. Pretty easy, right? Well, that’s what makes Joyoshare VidiKit exceptional; It comes with multiple features and easy access too.
Categories: Technology
Source: SCHOOL TRANG DAI